
Making toy packaging with a vacuum former
- Posted on
- Posted in Packaging
Learn how to make classic action figure packaging with a vacuum former. Watch how Making Flof designs moulds, forms PET blisters, and creates cardboard backings.
Vacuum forming is an excellent method for creating professional-looking toy packaging. Whether you’re working at an industrial scale, doing research and development, or running small production batches, a vacuum former can help you produce high-quality packaging that really stands out.
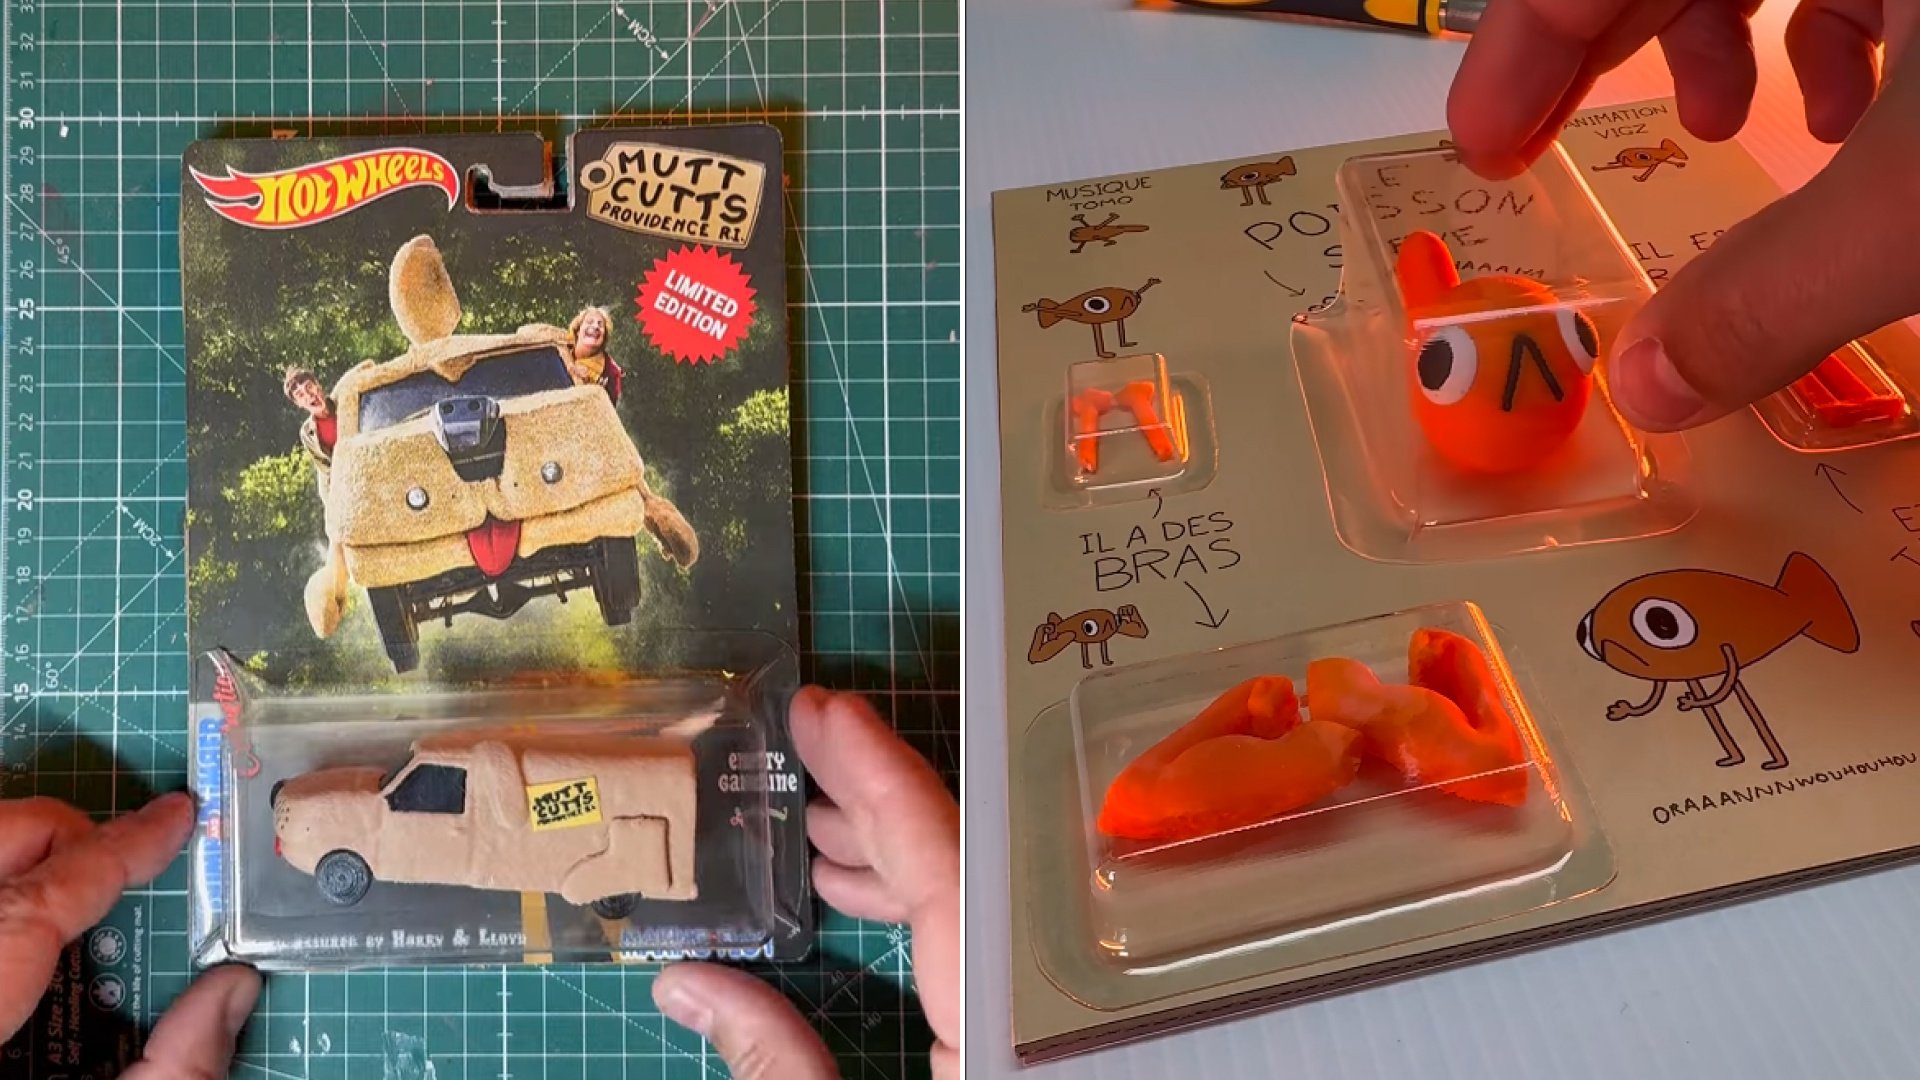
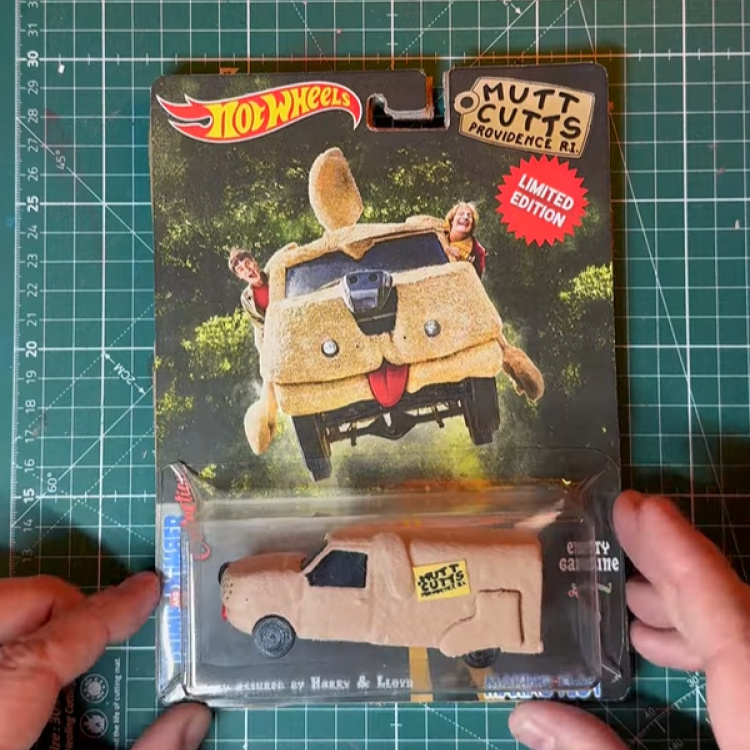
In the past, we’ve shown how to make all-plastic blister packaging, but in this guide, we’ll walk you through how to make classic action figure packaging with a printed cardboard backing and a clear plastic front. This type of packaging is perfect for collectors, indie toy makers, or anyone wanting to give their creations a nostalgic, shop-ready look.
To illustrate the process, we’re using two projects by French maker Making Flof (also known as Florian). Florian regularly shares his innovative builds on YouTube and Instagram, combining digital making, humor, and clever use of tools like 3D printers, laser cutters, and his MY YARD vacuum former. One of his standout projects is a real-life AI starter pack, and the same techniques apply to creating custom toy packaging.
Make your mold
First, create a block shape slightly larger than the toy or figure you want to package. It’s important to follow good vacuum forming design principles here.
Most importantly, add draft angles to your mold. These slight angles make it much easier to remove the formed plastic without damaging the mold or the plastic.
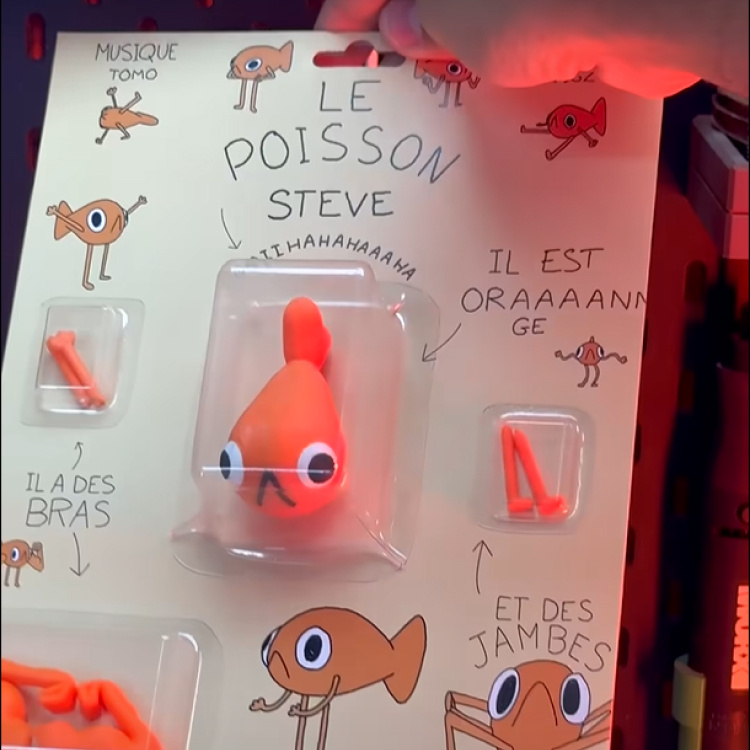
In his “Steve the Fish” project, Florian made separate PET containers for each part of the toy. If you’re making multiple pieces like this, you’ll need multiple forming shapes. However, if your vacuum former is large enough, you may be able to form all parts in a single run.
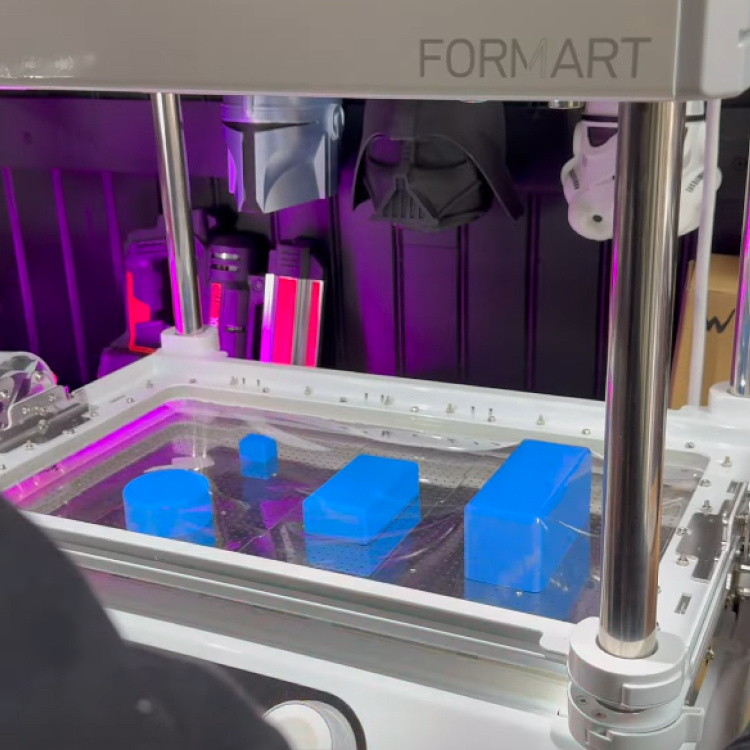
Vacuum form the plastic
Next, heat a PET sheet and use your vacuum former to shape it over your mold. Once the plastic has cooled and set, cut out the formed packaging, leaving extra space around the edges. This border gives you room to apply glue when you attach it to the backing.
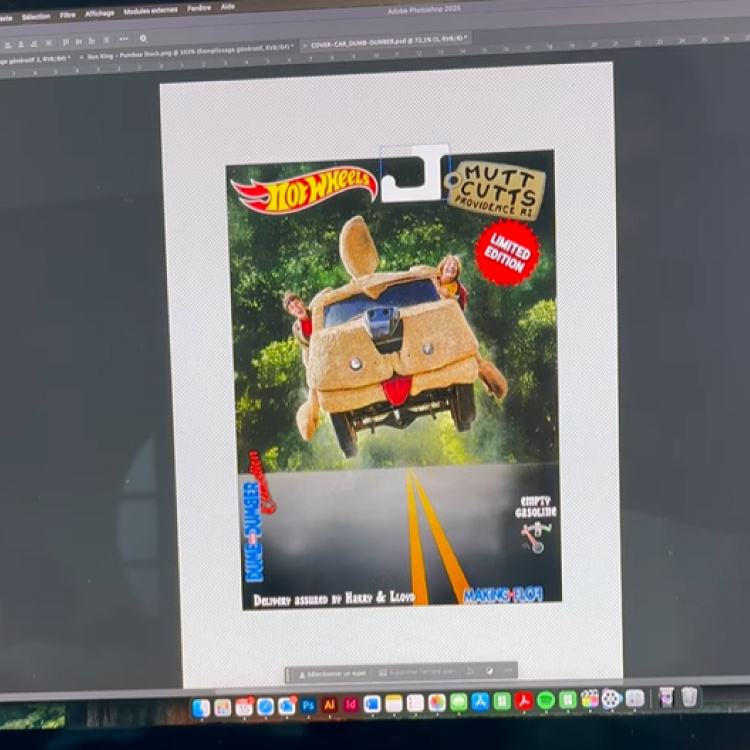
Design the cardboard backing
While your plastic parts are cooling, design the cardboard backing for your packaging. This is your chance to get creative! Bright, fun graphics that grab attention on a shelf will make your product more eye-catching and professional. Once you’re happy with the design, print it on sturdy cardboard and cut it to size.
Assemble your custom packaging
To finish, place your toy or figure on the cardboard backing and cover it with the clear PET blister. If everything looks good, glue the PET cover to the cardboard. Now you have a custom-made, classic action figure package ready for display or sale.
Combining vacuum forming with digital design and a bit of creativity opens up endless possibilities for unique packaging, cosplay props, and so much more.
If you’re inspired by these projects and want to see more imaginative builds, be sure to follow Making Flof on YouTube or Instagram. His projects are full of humor, clever techniques, and creative uses for modern tools like desktop vacuum formers.
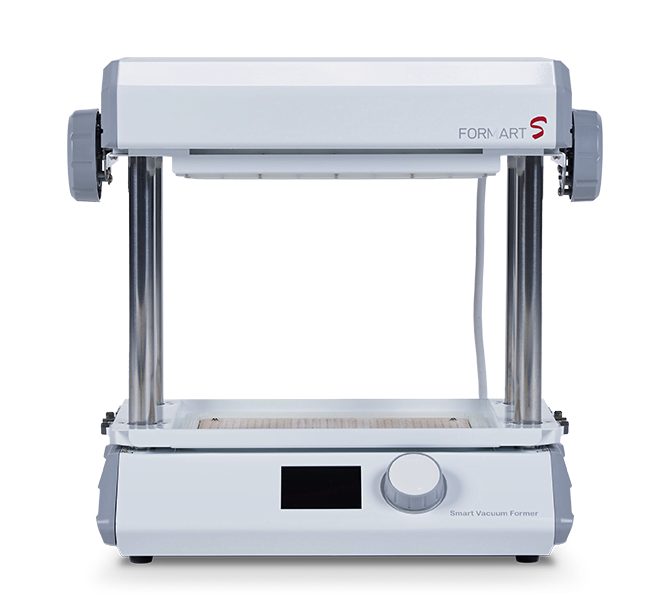
Machines
- 3D printer
- MY YARD FORMART 2 vacuum former
Materials
- 3D printing filament or resin
- Cardboard
- Glue
- Paper
- PET sheet