
How to create a custom RC car body with a vacuum former
- Posted on
- Posted in Arts & Crafts
Learn how vacuum forming a custom RC car body can make your radio controlled car truly unique.
Building, tuning, driving, and flying radio controlled cars, boats or planes is a popular hobby around the world. These model vehicles can come in all shapes and sizes, but if you’re an RC car enthusiast looking to take your build to the next level, crafting a custom RC car body is a brilliant way to make your model truly one of a kind.
Not only does this method offer a professional finish, but it also allows for complete personalization. In this guide, we’ll explore the exciting world of radio controlled cars and show you how vacuum forming can be used to create stunning custom bodies.
There’s no shortage of ready-made RC car shells on the market, but designing your own custom RC car body lets you:
- Create unique designs that are not commercially available
- Tailor the body to your chassis for a better fit
- Experiment with different styles, such as vintage racers or futuristic concepts
- Showcase your skills in model making and fabrication
What is vacuum forming?
Vacuum forming is a type of thermoforming where a plastic sheet is heated until it becomes pliable, then shaped over a mold using vacuum pressure. It’s widely used in packaging, prototyping, and model making.
What you’ll need
To get started with vacuum forming your own RC car body, you will need the following:
- A vacuum former
- Sheets of thermoformable plastic (such as PET)
- A mold or "buck" of your desired car body
- RC car chassis to fit the new body
- Paint and decals for the finishing touch
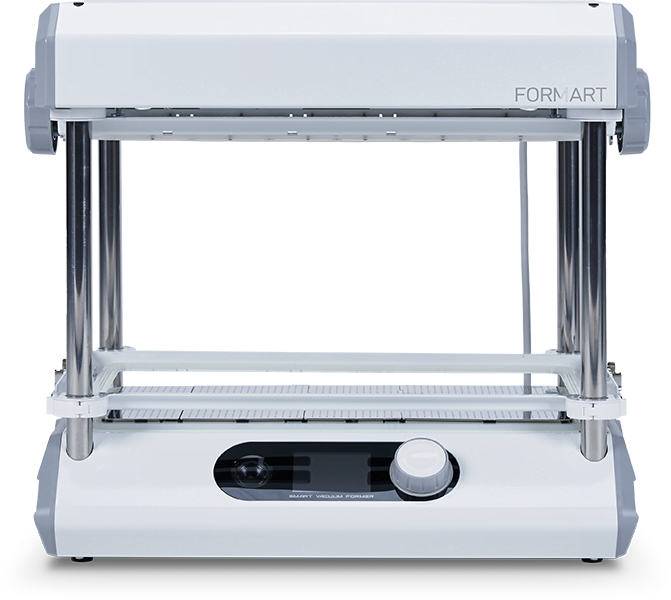
Depending on the body or part that you want to form and the scale of your model, you will need to find the right size of vacuum former for you.
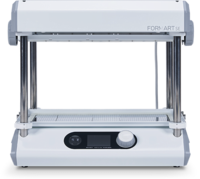
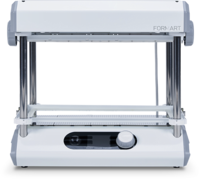
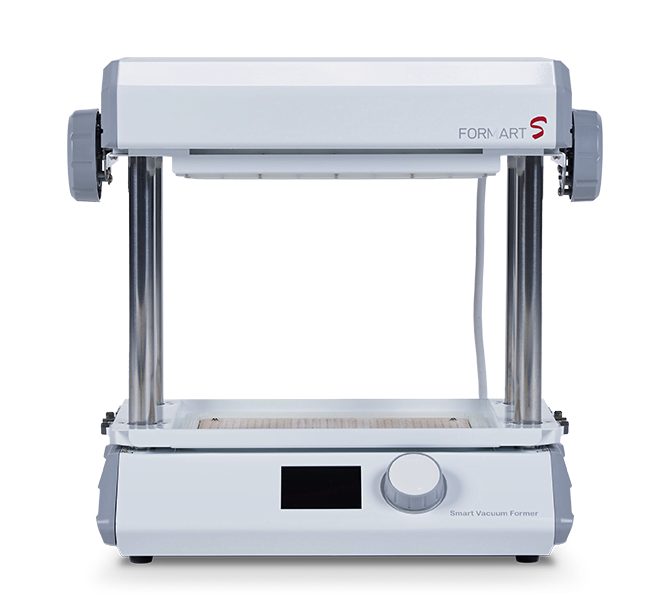
Our smaller MY YARD FORMART S vacuum former has a 10.24 x 6.61 inch work area and uses 12 x 8 inch plastic sheets. This makes it suitable for models in a smaller scale, like 1:64 or 1:24.
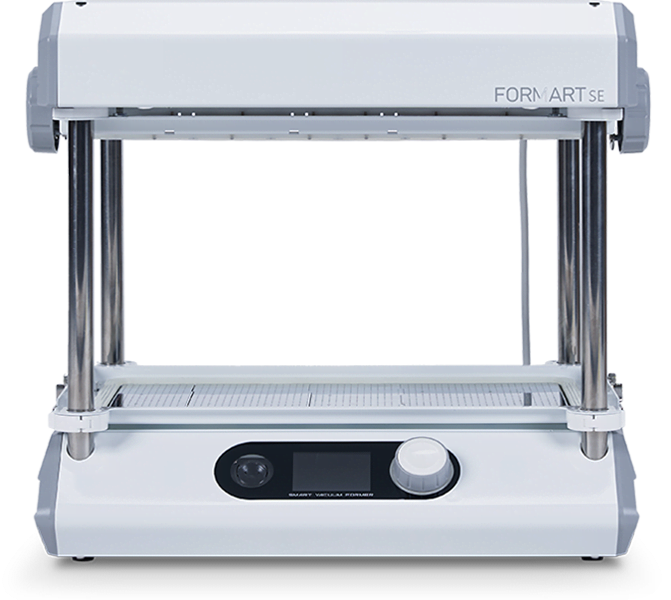
If your RC car is made in a larger scale like 1:16 or 1:12, the big 18.50 x 10.63 inch work area of our FORMART SE and FORMART 2 will be better for you.
You can experiment with different materials and sheet thicknesses to find the right balance between strength and flexibility for the car body.
Making a custom RC car body
1. Design and create the mold
Start by designing your custom body. You can carve your mold from wood, MDF, or 3D print it using PLA or ABS filament. Silicone molds placed over a harder core in one of these materials are also very popular, because the flexible silicone is easier to remove after vacuum forming.
Make sure the dimensions of the mold are accurate for your RC car’s scale (e.g. 1:10 or 1:8).
Tip: Add small holes in recessed areas of the mold to allow better suction during the forming process. You can find more tips in our guide on how to design for vacuum forming.
2. Set up your vacuum former
Turn on your vacuum former and clamp the plastic sheet in the frame. Move the frame up and place the mold on the perforated forming bed. Select the right temperature and time settings for your material.
3. Heat the plastic
Follow the steps indicated by your vacuum former and warm the plastic until it starts to sag.
Be cautious: overheating can cause bubbling or uneven thickness during the vacuum forming process.
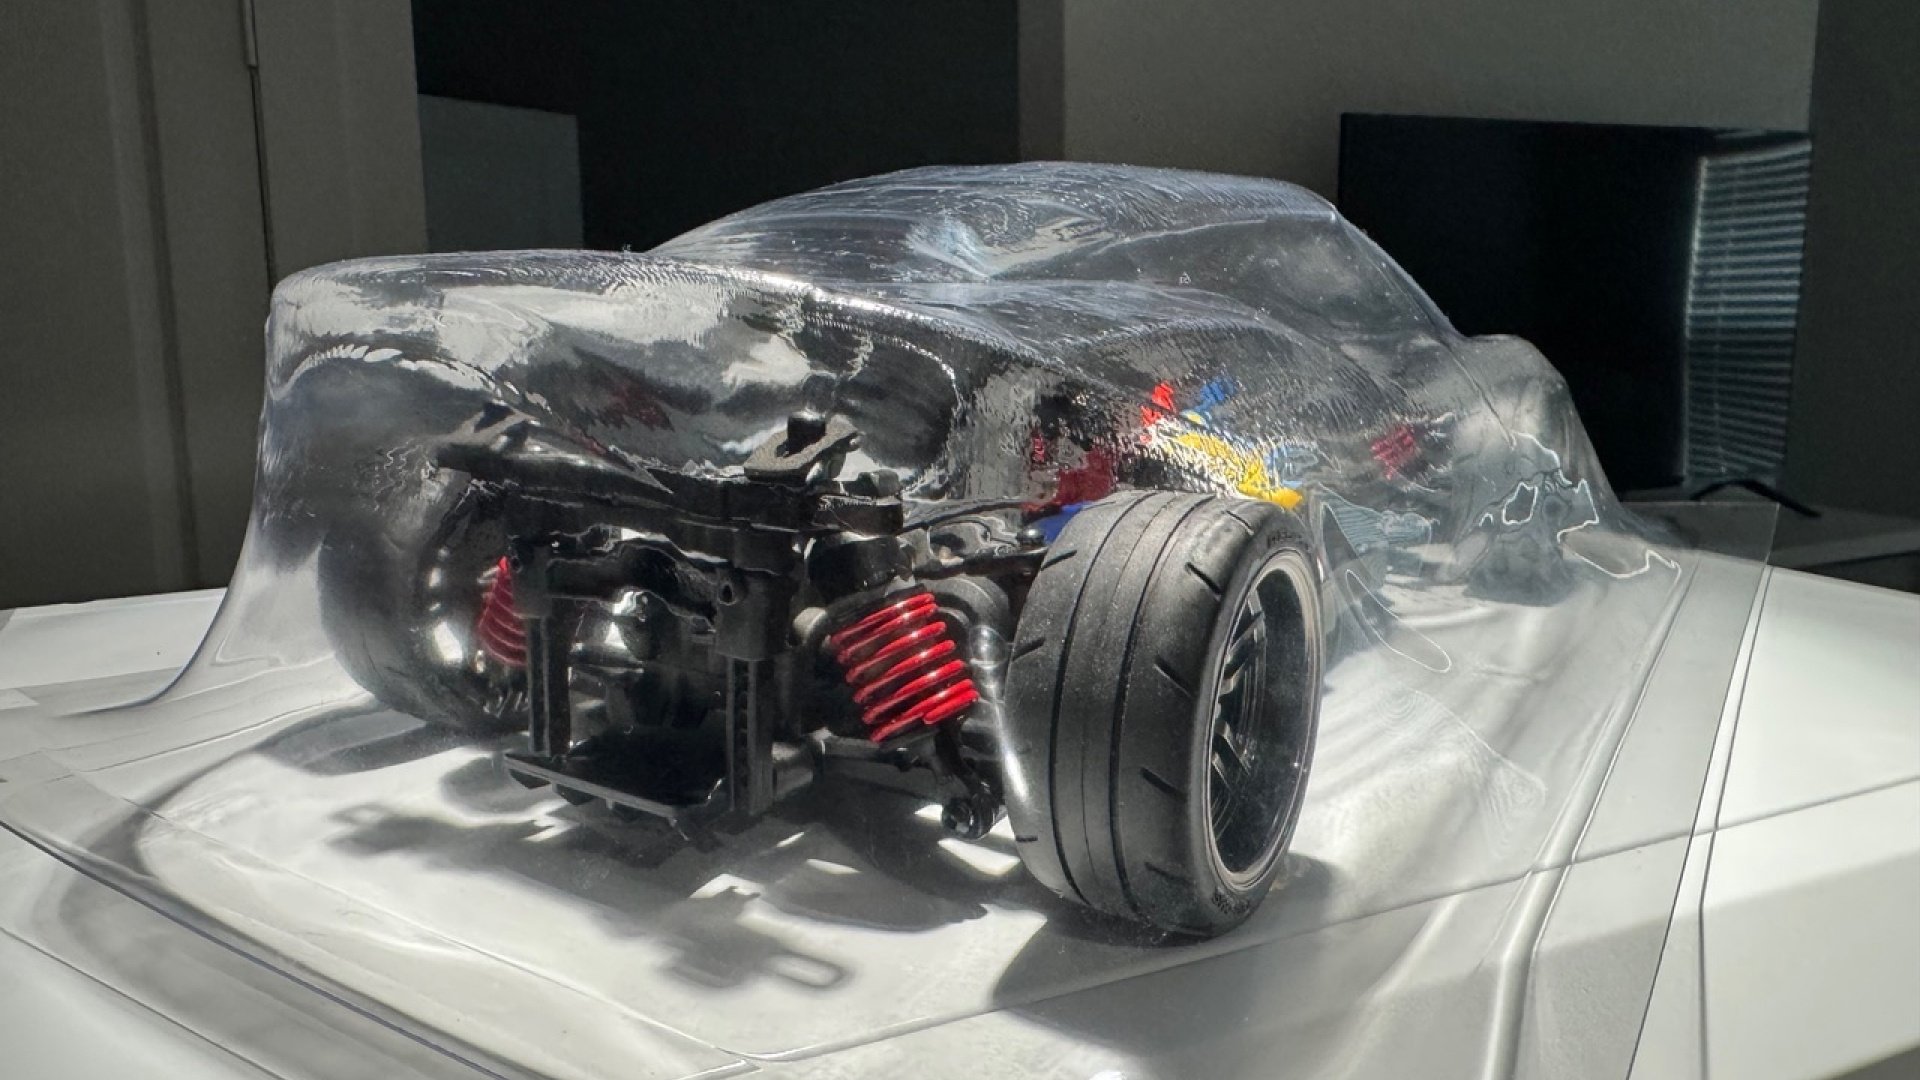
4. Form the plastic shell
Once the sheet has been heated to the right temperature, quickly pull the plastic sheet down over the mold to activate the vacuum. The plastic will conform to the mold shape, capturing all the details. Allow it to cool before removing.
5. Trim and fit
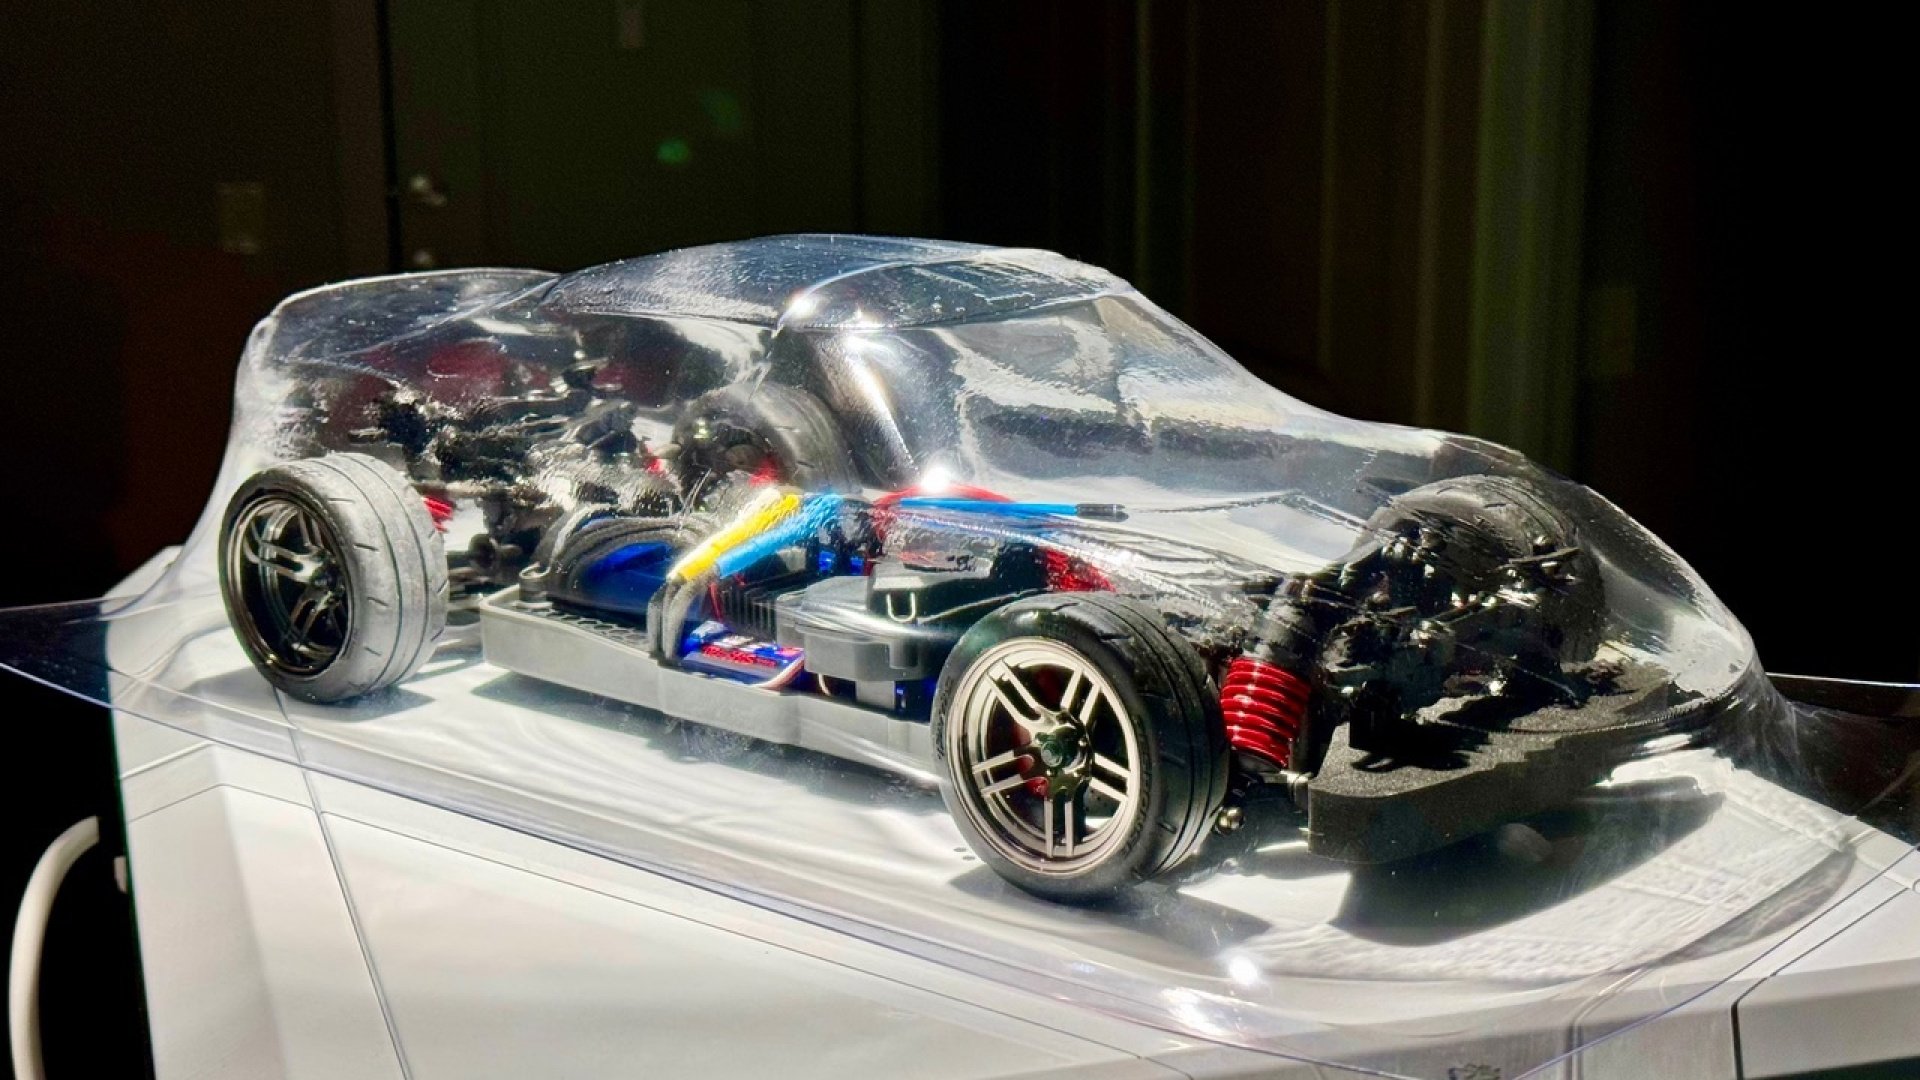
Trim the excess plastic from your shell. Test fit the shell onto your RC car chassis and make cut-outs for the wheels, body posts, and other components.
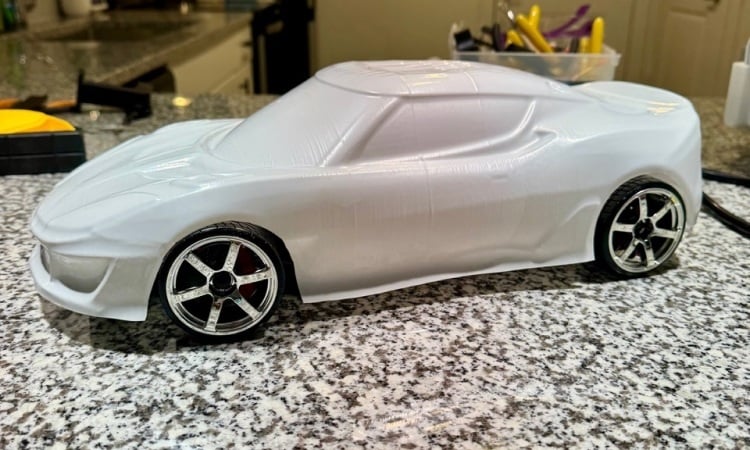
6. Paint and decorate
Use paint that adheres to PET (or the material that you used) to add color and detail to your custom car body.
Mask the windows while painting and apply decals afterwards to bring your design to life.
Tip: Clear PET bodies can be painted from the inside for a glossy, durable finish.

Ready to get started?
Building a custom RC car body with a vacuum former opens up endless creative possibilities. Whether you’re replicating a real-world vehicle or inventing your own design, vacuum forming provides the precision and finish needed for top-tier results.
Not only is it a fun and rewarding process, but it also enhances your RC experience by making your vehicle uniquely yours. So find the right vacuum former for you and start shaping your next masterpiece!