
Building a radio-controlled boat using vacuum forming
- Posted on
- Posted in Arts & Crafts, Education
While making your own custom shells or track elements for RC cars is fun, sometimes you just want to sail the high seas!
Our desktop vacuum forming machines offer a great solution for making custom hull designs, allowing you to build your own radio-controlled boat.
While making your own custom shells or track elements for RC cars is fun, sometimes you just want to sail the high seas!
Our desktop vacuum forming machines offer a great solution for making custom hull designs, allowing you to build your own radio-controlled boat. The process is fast, cost-effective, and allows for accurate hull design verification and fluid dynamics testing.
Combining vacuum forming with 3D printing and laser cutting, you can quickly create a unique boat design. Whether you are a STEAM educator, student, or maker, this project offers a hands-on learning experience that combines creativity with engineering.
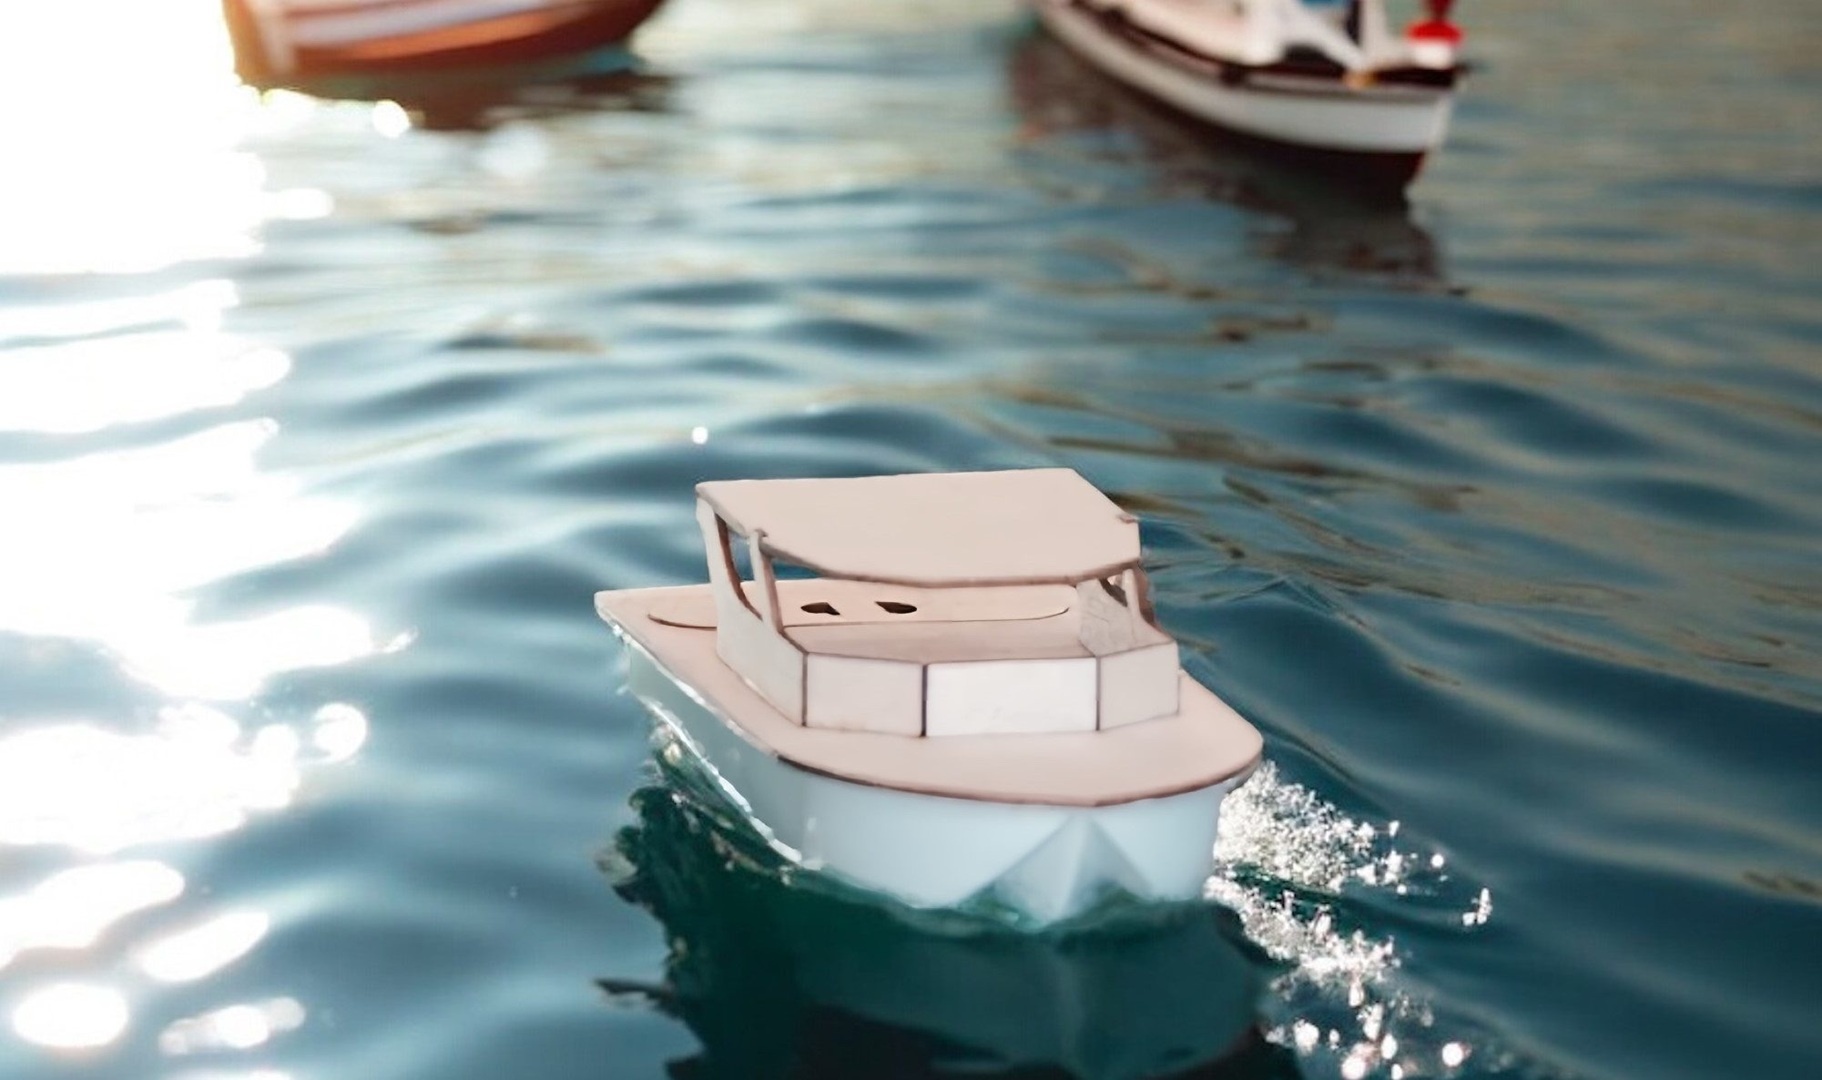
Discover how we built a small motorboat in the video below.
Benefits of vacuum forming for this project
- Fast production - Form a boat hull in minutes, perfect for STEAM education and makers.
- Cost-effective - Uses HIPS plastic sheets, reducing manufacturing costs.
- High precision - Easily replicates 3D-printed molds for a streamlined and optimized boat design.
Eager to start building? You can find all the necessary files and instructions below.
Files
Machines
- 3D printer
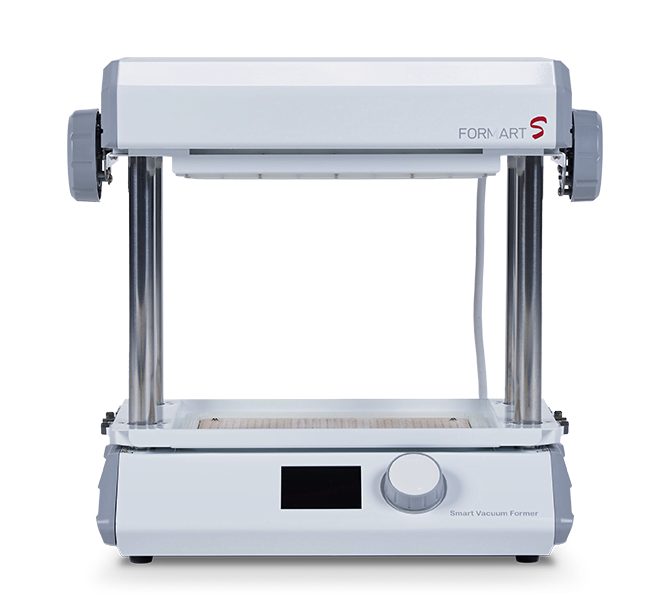
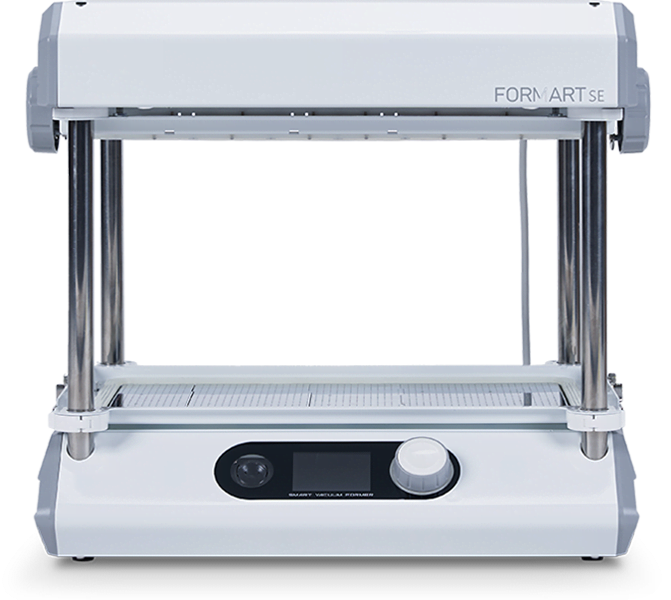
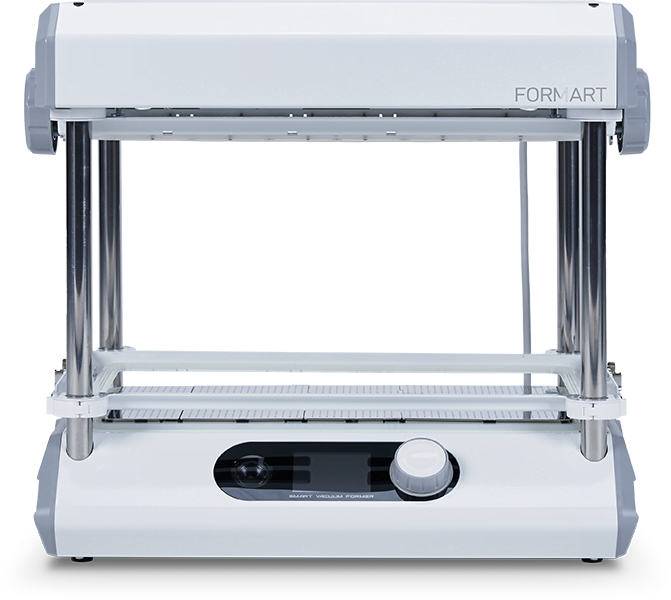
- MY YARD FORMART S vacuum former
- Laser cutter
- Glue
Materials
- Wooden board, 0.1" thick
- HIPS sheet
- 3D printing material
- Grease or other waterproofing material
- 2 DC motors with batteries
- 2 propellers and drive shafts
Instructions

- To begin, download the 3D model STL file and print the hull mold using a 3D printer. Ensure the surface is smooth for a high-quality vacuum forming result.
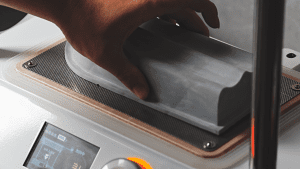
- Place the HIPS sheet on the FORMART S vacuum former.
- Start the machine, allow it to heat up, and begin the vacuum forming process to shape the hull.
- Remove the formed hull and trim any excess material.

- Once the hull is formed, attach the DC motors, drive shafts, propellers and battery holder to the boat using glue. Adjust the weight distribution for better balance.
- Apply grease or other waterproofing material around any drilled holes and drive shaft gaps to prevent water leaking into your boat.

- Load the DXF laser cutting file into your cutting software and cut the parts with a laser cutter.
- Assemble the parts using glue, ensuring a firm structure.
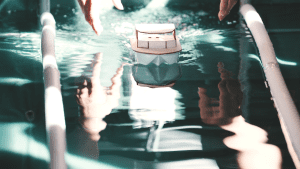
- Time to test your custom motorboat! First, place your boat in the water and test its performance. Then, adjust the motor power and balance for optimal navigation.